MV MOTORS REWINDING

1. Coils Dismantling and Core Cleaning

a) Old coils are detached from the cavities by the help of wedges and crank levers

b) The remaining isolation materials and varnish in the core are cleaned by combustion.

c) The burrs of interior sections of the engine core grooves are removed by sandpapering.

d) The core is subjected to magnetic heating test to find out if there is any problem. If it passed by the test, it is ready for winding by dyeing with prime paint. If not, partial or complete repair will performed depends on the result.

2. Installation of the Coil Head and the Connective Strap

a) The appropriate iron bars are rounded and prepared according to the MV coil dimensions and these bars are attached to the motor’s trunk by welding.

b) The rounds are isolated with adequate isolation materials.

3. Heaving of Coils

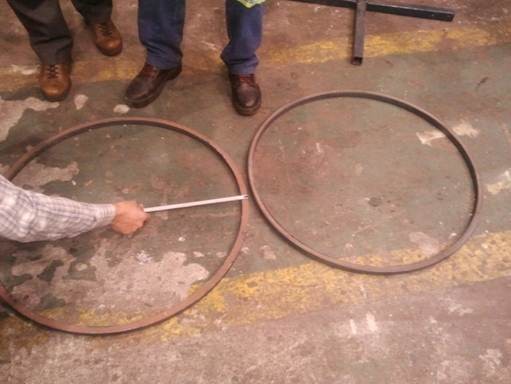
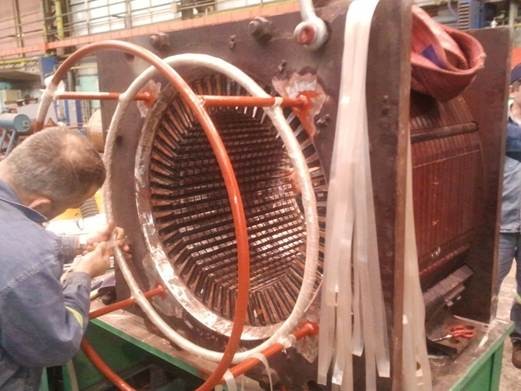
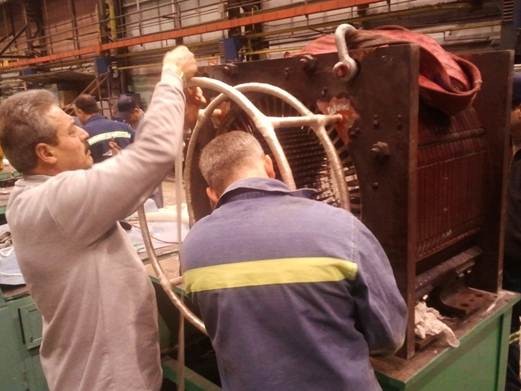
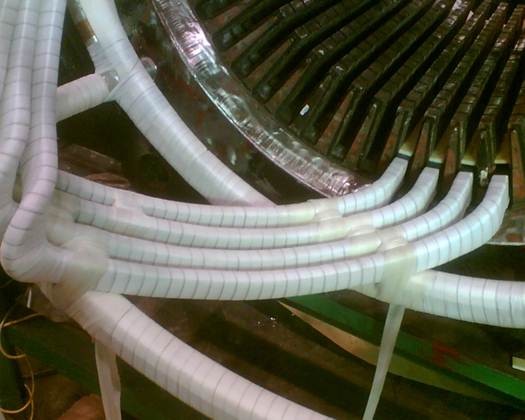
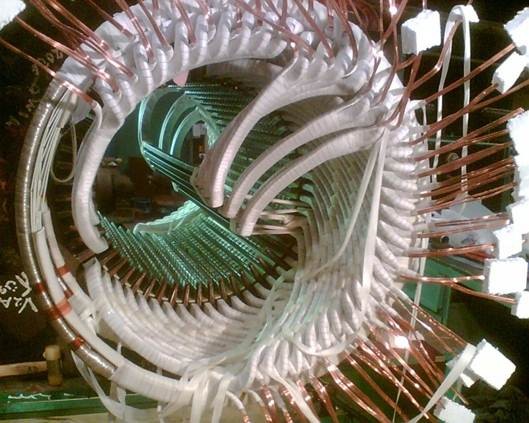
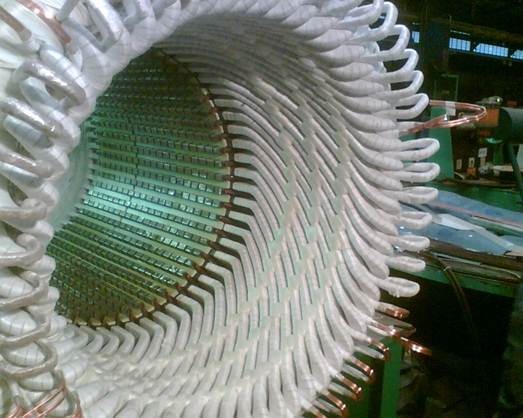
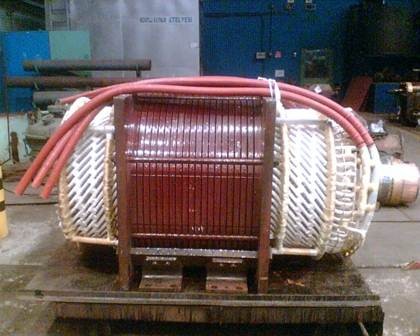
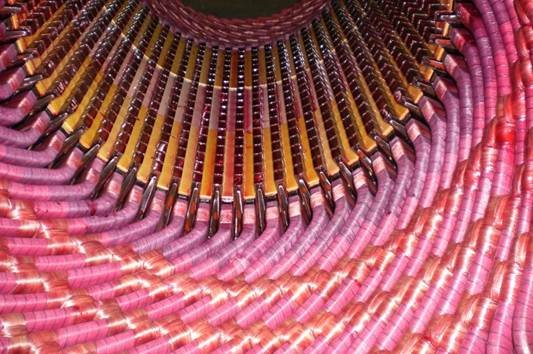
a) We use guide bands in order to avoid corona losses of the coils which are wrapped with conductive bands around them during the installation of the coils on the cavity without any damages.

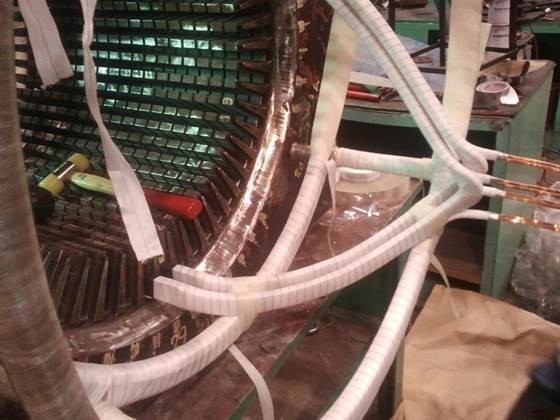
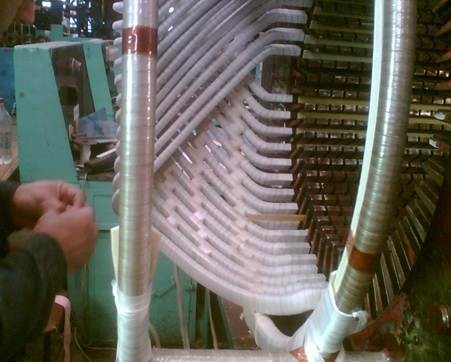
b) The coils heads are fastened with polyglass band around the strap to obtain high resistance against electromagnetic loads.

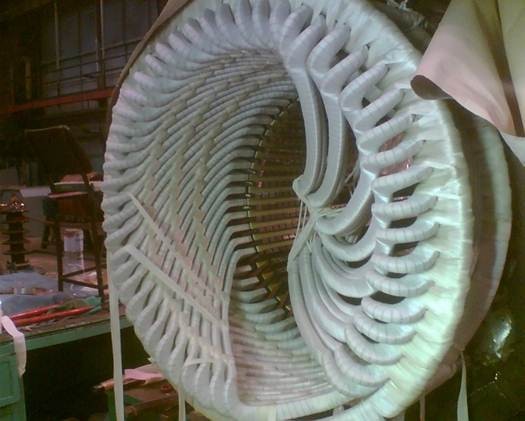
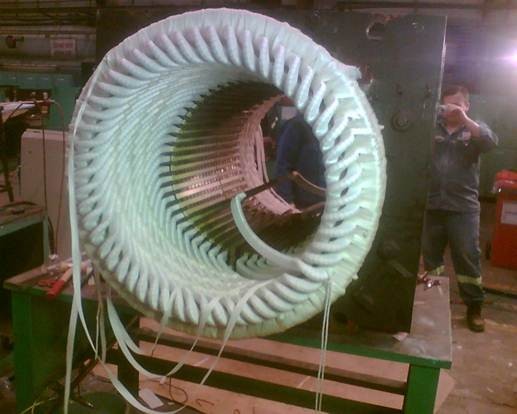
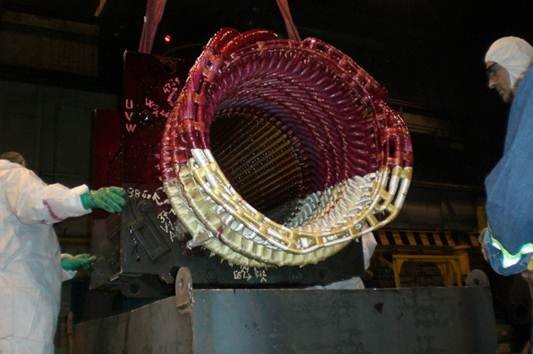
c) The coils are connected to each other by reinforcing the interwalls with felts and cocks.

d) Glass laths are replaced to support the appropriate compression of the coils in cavity bases, coils intervals and over the cavities.

e) PT100 heat detector is placed between the coil intervals for each phase.

4.Coils Test

a) When the coils are heaved into the cavity, they are subjected to 1 minute AC High Voltage test after their connections are made. With this test, we can control  whether the coil was damaged during heaving or connection and/or any other problem exists with its isolation whether in the full-conductor or semiconductor corona bands. The application voltage is 2xU +1000 Volts.

5. Pitch Lifting

a) In order to heave the final coils, the top edges of the coils,are lifted up one by one with a silk band. Meanwhile at every step the upper edges set down to the slots and the prosess is completed.

b) The coils are firmly fixated by hammering glass or magnetic laths in the cavities.

6. Making of Coils Connections

a) Coils grading wil made after the completion of coil heaving, For this purpose, Joined cover each other copper wire terminals are welded with silver additive. Their isolations are completed by wrapping of outer surfaces.

b) The entry of the coil’s cables of each poles are welded and  isolated.

c) To complate the winding operation; all terminals all firmly bound with each other with chocks, felts and polyglass bands.

7. Kiln-Drying and Varnishing

a) The stator is kiln-dried at 130 °C for a period of 15 hours.

b) The stator coils from the kiln are varnishing using with immersion or spraying method.

c) The varnished coils are placed in the kiln fort o dry by heating up to 130 °C for a period of 15 hours.

8. Final Tests

a) Megger Test is performed to check the isolation level between the phases and against chassis.

b) DC resistance test: Applying maximum 15 Ampers current to measure the DC resistance with 1/0000 sensitivity.

c) HI-POT & SURGE Test: HI-POT test is performed to check the high-voltage resistance of the phases against the chassis and each other whereas SURGE test is performed to measure the high-voltage resistance of the coil turn against each other.